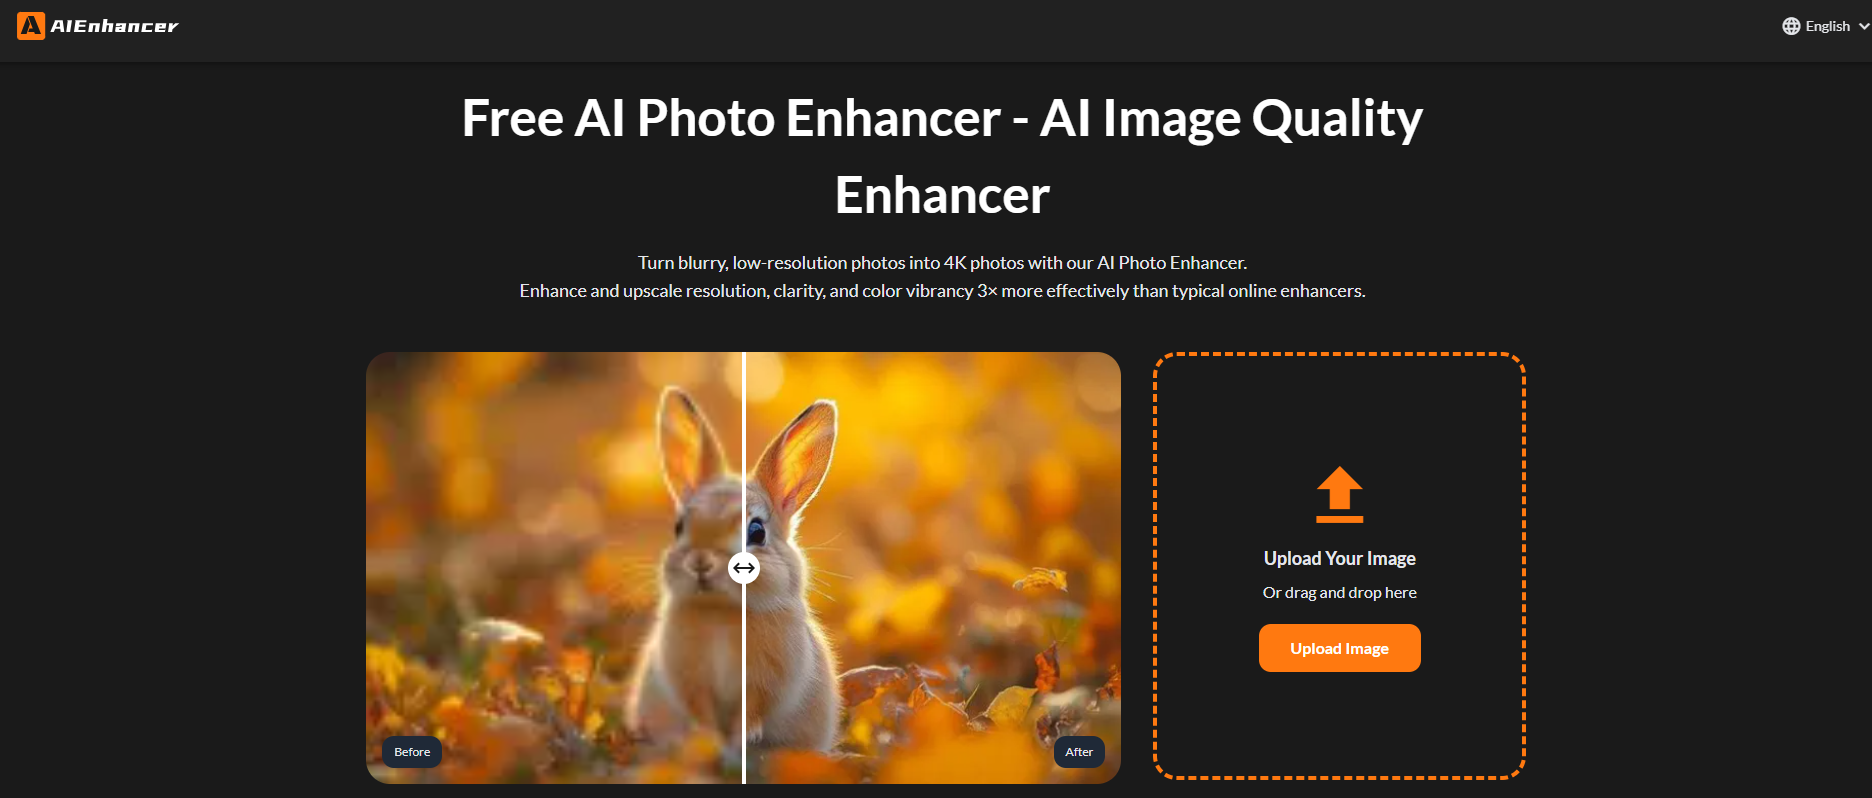
AIEnhancer transforms any low-resolution, fuzzy photo into a crisp 4K masterpiece, boosting sharpness and detail 3× faster and more effectively than ordinary online enhancers.
What is use of AIEnhancer?
AIEnhancer helps you turn blurry or low-quality pictures into clear, high-resolution, sharp images. You can restore lost detail, remove noise, and upscale photos for printing or digital displays.
What is AIEnhancer?
AIEnhancer is an AI tool that improves picture quality automatically. It works by analyzing your image and then enhancing color, sharpness, and details. With AIEnhancer, ordinary or fuzzy photos-such as old snapshots, screenshots, or AI-generated art-can be made crisp and more appealing. The tool focuses only on improving images rather than talking about the company or internal tech.
AIEnhancer supports different enhancement modes (for example, “balanced,” “strong,” “old photo,” or “digital art”) so it adapts how much sharpening or smoothing to apply based on what kind of image you give it. You upload an image, pick a mode, let it process, and then download the result.
What Can You Do With AIEnhancer?
With AIEnhancer, you can:
- Turn a low-resolution image into a higher-resolution one (upscaling).
- Recover details in blurry images (sharpen edges, refine textures).
- Reduce noise (grain, speckles) from photos, making them clean.
- Restore old or faded photos by correcting colors and brightness.
- Fix distortions in AI-generated art (faces, lines, shapes) to look more natural.
- Make images ready for prints, posters, or use on websites without looking pixelated.
- Use batch processing (if the tool offers it) to enhance multiple images at once.
In short: any time you have a picture that looks less than perfect, AIEnhancer can help make it look much better.
Key Features of AIEnhancer
Here are the main features you can expect from AIEnhancer:
1. Upscaling / Resolution Boost
You can enlarge images many times over (for example, to 4K quality or beyond) while preserving or even improving detail.
2. Detail & Texture Enhancement
It adds micro-details, sharpening edges and textures so the image looks more vivid.
3. Noise / Grain Reduction
It reduces digital noise that often comes in low-light or old photos, cleaning the image without losing detail.
4. Color & Tone Correction
Adjusts brightness, contrast, saturation, and tones to bring lifelike colors back to dull or faded images.
5. Multiple Modes / Presets
Provides different modes like “balanced,” “strong,” “art,” or “old photo” so users can tailor enhancements to the image type.
6. Batch / Multiple Image Processing
Lets you process several images in one go (if available in the AIEnhancer package you use).
7.. Preview & Compare
You can see before-and-after previews to judge the enhancement before saving it.
8. Support for Digital Art / AI-Generated Images
It is able to correct odd distortions in AI art (warped lines, wrong facial features) and restore a natural look.
These features make AIEnhancer versatile for many image types—photographs, artwork, scans, etc.
AIEnhancer Pricing
I could not find any reliable, up-to-date pricing information for AIEnhancer on their site. It seems they offer a “free AI photo enhancer” version. (Their homepage mentions using “Free AI Photo Enhancer” and enhancing to 4K resolution).
Because pricing is not clearly listed on their site, you should check when you visit their tool whether they have subscription tiers, credit systems, or premium features.
Tips and Best Practices for AIEnhancer
Here are some tips to get the best results with AIEnhancer:
- Start with the highest quality original you have: don’t use a very tiny or compressed image if you can help it.
- Choose the right enhancement mode : (balanced, strong, art) depending on the type (photo, painting, AI art).
- Do a small area preview first: before applying to the whole image.
- Use batch mode cautiously: check a few results first to ensure the settings work.
- Don’t overdo the effect: extreme sharpening or too much contrast might look artificial.
- Compare before and after: always see the original + enhanced side by side to ensure you like the change.
- Use for print or high-res display: the benefit is greater when you enlarge or make images large.
- Keep an unmodified backup: of the original image in case you want to reprocess with different settings.
FAQs
1: What is AIEnhancer used for?
AIEnhancer is used to make images clearer, remove noise, sharpen details, and upscale pictures so they look better.
2: Does AIEnhancer cost money or is it free?
On their site, AIEnhancer offers a free version. But they may offer premium or paid features as you use it more or need extra options.
3: Can AIEnhancer fix blurry or distorted AI-generated art?
Yes. AIEnhancer can correct odd distortions, restore shapes, and refine details in AI-generated art so it looks natural.
4: How many images can I enhance at once with AIEnhancer?
If the tool supports batch mode, you can process multiple images at once. But check your plan—some versions limit number of images.
5: Will enhanced images by AIEnhancer look fake or overdone?
If you use moderate settings, the results can look natural. But if settings are pushed too far (very strong), images might look over-sharpened or exaggerated. Always preview.
6: Is AIEnhancer good for printing large posters?
Yes. Because AIEnhancer can upscale and preserve detail, enhanced images are better suited for large prints or posters than unenhanced ones.
Key Platforms
Core Service Areas:
High-Resolution Output
Speedy Processing
Advanced Algorithms
User-Friendly Interface
Batch Processing
Versatile Formats
Pros
- Improved image quality: AIEnhancer can make blurry or low-resolution images much clearer, bringing out details you might have lost.
- Noise reduction; It can remove grain, speckles, or digital noise, giving photos a cleaner look.
- Upscaling / resolution boost: You can enlarge images (for prints or larger displays) without as much loss of detail.
- Time saving; Instead of editing manually pixel by pixel, AIEnhancer automates many corrections, so you get results much faster.
- Easy to use: You don’t need to be a photo-editing expert; the interface is generally simple, letting you upload and get results with minimal steps.
- Fix AI-generated distortions; It can correct odd distortions or artifacts in AI-generated art (warped faces, strange shapes) to make them look more natural.
- Batch processing (if available) :Enhancing multiple images at once can be efficient if your plan supports it.
Cons
- Over-enhancement / unnatural look: If you push the effect too far, images may look “too sharp,” over-contrasted, or artificial.
- Imperfections & errors: Some areas might be messed up: weird artifacts, halo effects around edges, or “smudged” areas. The AI is not perfect.
- Lack of manual control: If you want very fine, custom changes (e.g. selective & subtle editing), AIEnhancer might be limited in control.
- Large file size / performance issues: Upscaled images may become large, which can slow down storage, transfer, or website loading.
- Dependency on original quality: If your original image is extremely low quality, there’s a limit to how much improvement is possible. Some details cannot be “invented” convincingly.
- Possible subscription or cost limits: Some features (batch processing, higher resolution) might only be in paid plans or limited in the free version.
- Risk of exaggeration / misrepresentation: For product images or portraits, exaggerating details or altering appearance too much can mislead users.
Frequently Asked Questions About AIEnhancer
01
What types of images can AIEnhancer enhance?
AIEnhancer can enhance any low-resolution or fuzzy photo, including portraits, landscapes, and product images, transforming them into crisp 4K masterpieces.
02
How does AIEnhancer improve image quality?
AIEnhancer uses advanced AI algorithms to increase sharpness and detail in images, boosting their quality 3× faster and more effectively than typical online enhancers.
03
Is there a limit to the number of images I can enhance?
AIEnhancer does not impose a specific limit on the number of images you can enhance, allowing you to process multiple images as needed.
04
Do I need any special software to use AIEnhancer?
No special software is required. AIEnhancer is an online tool that can be accessed through a web browser, making it easy to use from any device.
05
Is my image data safe when using AIEnhancer?
Yes, AIEnhancer prioritizes user privacy and data security. Your images are processed securely and are not stored after enhancement.
Promote AIEnhancer
Get AIEnhancer in front of thousands of buyers actively searching for AI tools. Feature your listing on the homepage and category pages, or add the verified badge to your site.
Copy Embed Code
Share on
Related AI Tools
Explore related AI tools for diverse applications and enhanced productivity
Unlock the best AI Tools for you!
Login or Approve this tool to continue exploring features and analytics.
Login to unlock the best AI Tools for you!
By proceeding, you agree to our Terms of use and confirm you have read our Privacy and Cookies Statement.
Subscribe Newsletter
Subscribe to our AI Tools Newsletter for exclusive insights, cutting-edge innovations, and the latest AI advancements delivered straight to your inbox!